Scarab13 Wishes you Merry Christmass and a Happy New 2014!
Happy Holidays
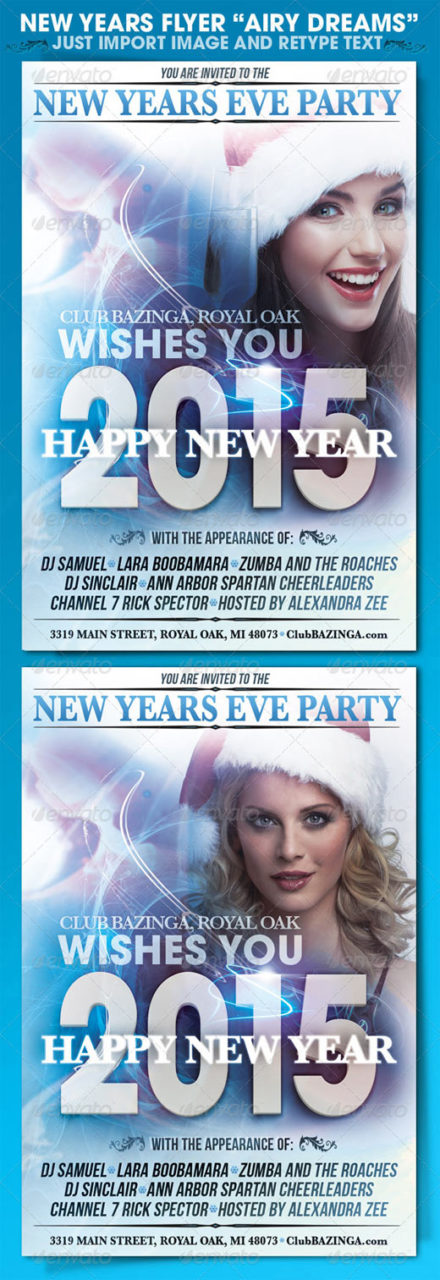
Very airy, light and modern NYE flyer, just insert your image (right click on the image holder layer marked in red and choose “Edit contents”, then paste your image in the layer “paste image here”. Save and it will update the main file. Resize and position as needed. You can paint on the Image Holder’s mask (little black and white thumbnail next to it) in black to hide details or in white to show more details.
Fonts used: – ITC AvantGarde Gothic Bold (http://www.myfonts.com/fonts/linotype/itc-avant-garde-gothic/bold/) - Bebas Neue (http://www.fontsquirrel.com/fonts/bebas-neue) - Baskerville (http://www.fontshop.com/fonts/downloads/urw/baskerville_ot/?gclid=CK3V8M2vtbsCFa9aMgodIG4AAA) – It’s similar to Trajan Pro so you can substitute it.
This file comes with 9 shirt colors (layer called “shirts” marked in purple), just enable which one you want. It has 7 backgrounds (including pure black and white) – layer on the bottom called “backgrounds”, marked in yellow, on top of which you can enable any of 3 advanced color adjustment layers (on top marked in blue). So technically you get 28 background variations, or you can disable layer “background” for transparent / custom.

If during work with the images you get asked to load a displacement map, just browse to the layer called “texture.psd” and load it. this is the layer that “distorts” the design to look natural on the shirt.
Unique file that will turn your images into the “word cloud” typography art piece. Great for invitations, wallpapers, ebook covers, web posters, etc. You just have to import your photo (you’ll see the layer called ImageHolder, just right-click on it and choose “Edit Contents”. Paste your image in the layer “paste image here”. Resize as needed and save). You can choose between “COLOR” and “BLACK & WHITE” versions by enabling/disabling properly named layers. That’s it!
Download it HERE! Download it HERE!
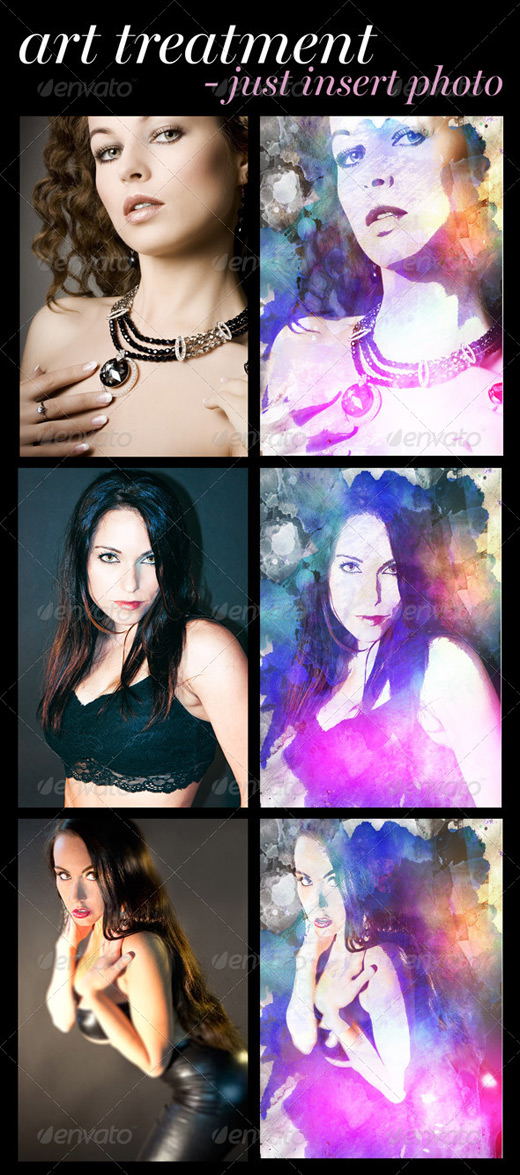
Very easy to use, this file will turn your images into an artwork. The only thing you have to do is to paste your image in the placeholder by right clicking the red marked layer called “Image Holder” and choosing “Edit Contents”. Then you’ll see the window with a layer called “Paste Image HERE”. Just paste, resize to fit and save. It will update the main file. You can control the level of detail simply by adjusting the slider of the layer “threshold 1” (marked in yellow) – once you click on it, the slider will show up in the “adjustment” panel. Just drag it left or right for more/less detail.
This poster is great for re-using over and over again, because of it’s 7 color and 8 masking choices! It’s like having 56 posters! Just enable/disable any combination you like. To insert image, right click on the red marked layer called “Image Holder” and choose “edit contents”. Then paste your image in the layer called “paste image here”. Save. that’s it! Adjustment layers are optional, you can disable them for more contrast and less color.
Fonts used: Saloon Girl (http://www.fonts.com/font/fontmesa/saloon-girl/regular) Bebas Neue (http://www.dafont.com/bebas-neue.font)
Download it HERE
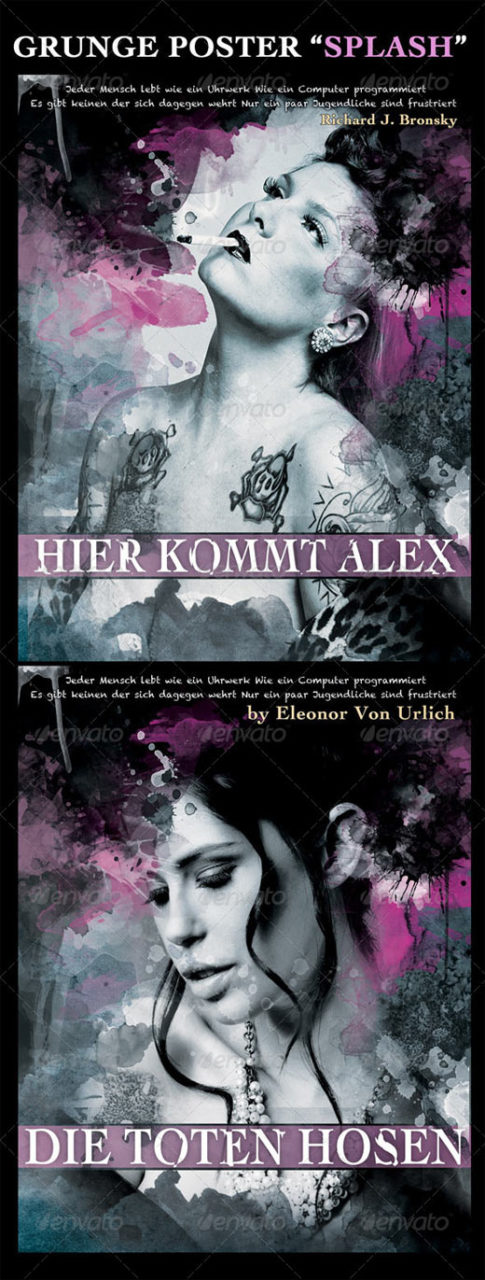
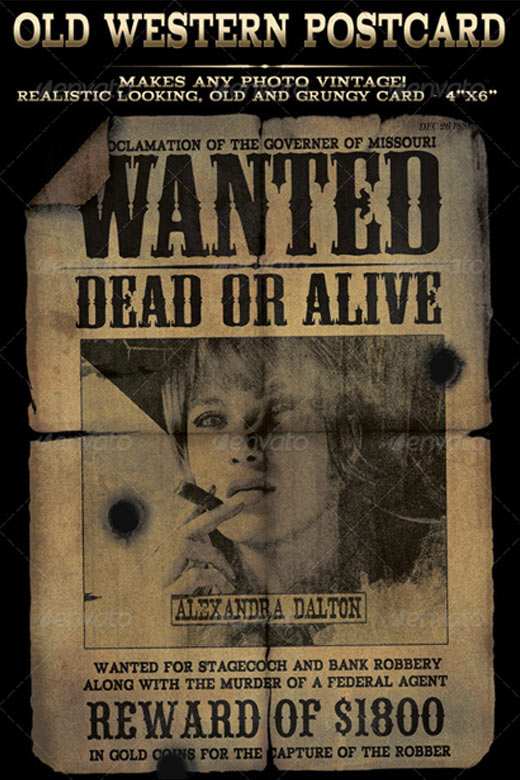
Get that spooky, old fashioned, grungy look. 300dpi, cmyk, with color bleeds and croplines. Easy to modify, just right click the red marked layer called “Image Holder”, choose Edit Contents and paste image in the layer “paste image here”. It will turn your photo into a high contrast-black and white image automatically. Save and it will update your main file. To edit the headline right click the yellow layer called “header…” in the “text” layer group and choose “Edit Contents”. It will open another window where you can edit text. Resize, Save and close. It may ask you for the “displacement” file. In that case just browse to the file “displacement.psd” (included). It breaks the header text and makes it grungy.
Images not included.
Fonts Included: – Chalkduster (http://photoshopextras.com/fonts/chalkduster.html) - Cochin (http://www.fonts.com/font/linotype/cochin)
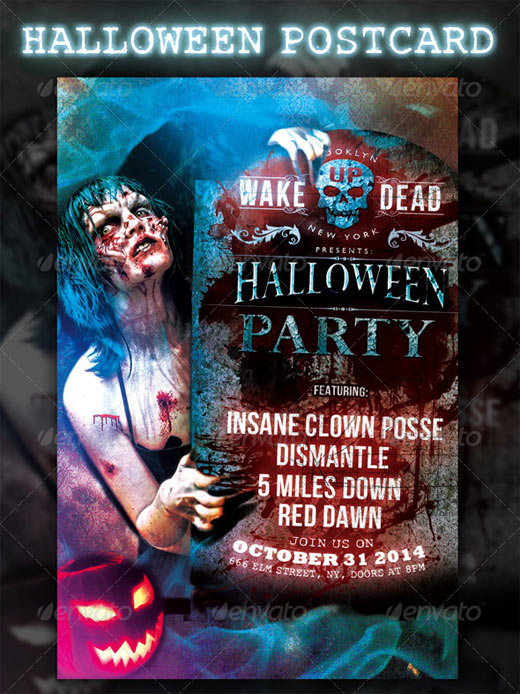
Great for shows, performances, events. Multilayered, easy to replace image (right click the red marked layer called “Image Holder” and choose “Edit Contents” which will open a separate window with the image inside. Just paste your picture over the blank space and resize to fit. Save and close that window. The main image in the poster will be updated. There is a layer “RED” in the background layer group. Change it’s HUE for different colors of the splash in the back (click on the layer “red” and press ctrl+U, drag slider for HUE until you get the color you like)
fonts used: – mesquite std (http://www.myfonts.com/fonts/adobe/mesquite/) - ledlight (http://www.dafont.com/ledlight.font) - gravur condensed (http://lineto.com/The+Fonts/Font+Categories/Text+Fonts/Gravur+Condensed/) the font in the small ribbon on top. You can use any other font for that area) – arial black
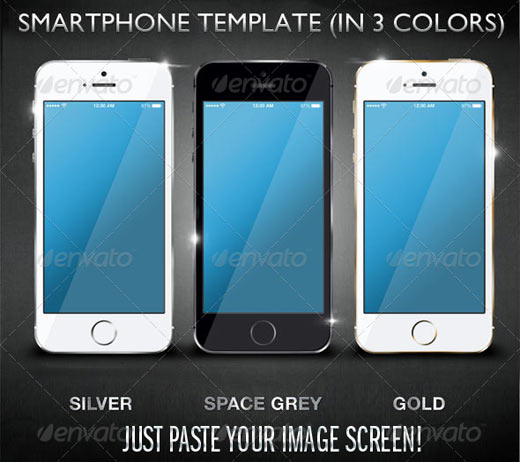
Easy to modify, this layered design template of an iPhone5 has 3 layer groups, each one is for a different phone color. Just edit screens by right-clicking on red-marked “ImageHolders” and choosing “Edit Contents”. Then paste your screen images in the placeholder, save.
Font used: Helvetica Neue (http://www.linotype.com/1266/neuehelvetica-family.html)
Vintage, grunge and dirty – It will turn ANY photo into an old black and white photo, just like the old western posters. To insert your image, right click on the Image Holder layer (inside the “image” layer group, choose “Edit Contents” and it will open a space for you to paste your image (in the layer “paste image here”).
Fonts used are: – Nashville (http://www.dafont.com/nashville.font)
Mesquite Std (http://store1.adobe.com/cfusion/store/html/index.cfm?store=OLS-US&event=displayFont&code=MSQQ10005000)
Acknowledgment (http://www.dafont.com/acknowledgement.font)
Saloon Girl (http://www.myfonts.com/fonts/fontmesa/saloon-girl/)
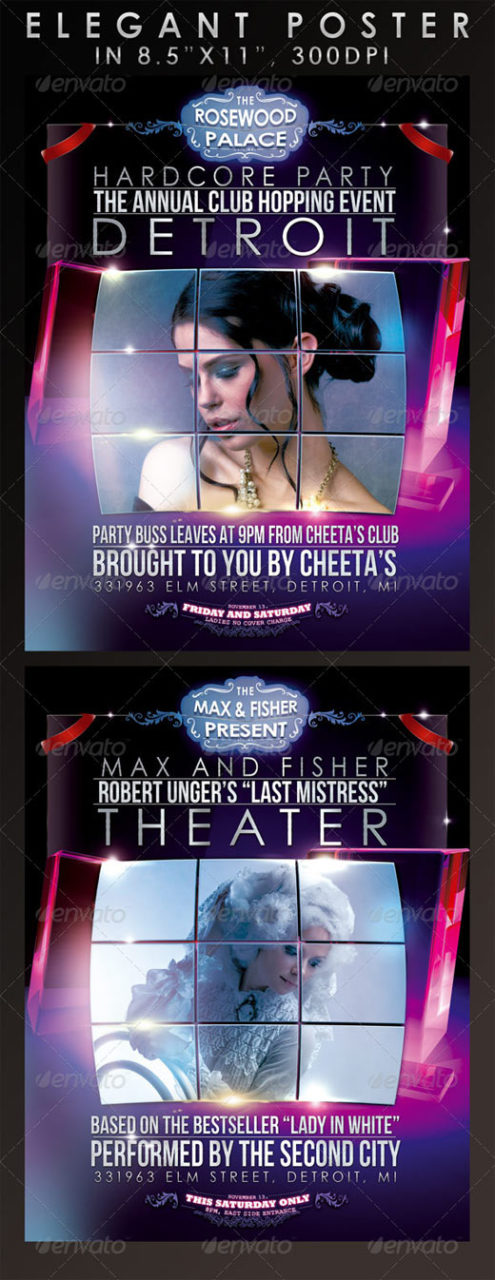
Different concept with 3D rendered image holder, as well as exclusively rendered 3D background image. Easy to use: Just right click the red-marked layer called “Image Holder” and choose Edit Contents. Then paste your image in the only layer inside, called “paste image here”. It’s that easy.
Fonts used: Bebas Neue (http://www.dafont.com/bebas-neue.font)
Century Gothic (http://www.myfonts.com/fonts/mti/century-gothic/)
Rockwell Extra Bold (http://www.fonts.com/font/monotype/rockwell)
Rough Typewriter (http://www.dafont.com/rough-typewriter.font)
Easy to use, just edit text. Images are included. To edit tombstone text, right click on the text holder layer, marked in YELLOW, choose “Edit Contents” and you’l be able to edit everything with ease. When done, just save it and it will update the main file.
Fonts used: Bebas Neue (http://www.dafont.com/bebas-neue.font)
Gill Sans (http://www.myfonts.com/fonts/mti/gill-sans/)
Perpetua Titling MT (http://www.fonts.com/font/monotype/perpetua)
Rockwell Extra Bold (http://www.fonts.com/font/monotype/rockwell)
Rough Typewriter (http://www.dafont.com/rough-typewriter.font)
My latest project for Ford just went live on www.kbb.com (Kelly’s Blue Book). It’s the homepage takeover for Ford F-150 that’s also scheduled to run on autotrader.com in few days. My similar projects include Ford Mustang, Flex, Fiesta, Lincoln MKS (and many more), capturing home pages of MSN, Yahoo, Youtube, ESPN, AOL and more.
See the video presentation:
3 of my “Wanted” posters are featured in the article “10+ Great Wanted Poster Template Collection” by Tripwire Magazine, as the first 3 shown (also including the feature images on top).
This great set contains of 14 layered .PSD files of Chicago evening/night signage mockups. All the photos were taken in September 2013, by my FujiX100S. Hi-resoluton, 3500×2500 files are easy to use – Right click on the red marked layers called “Image Holder” and choose “Edit Contents”. You’ll just have to paste your image in the layer called “paste image here” and save.
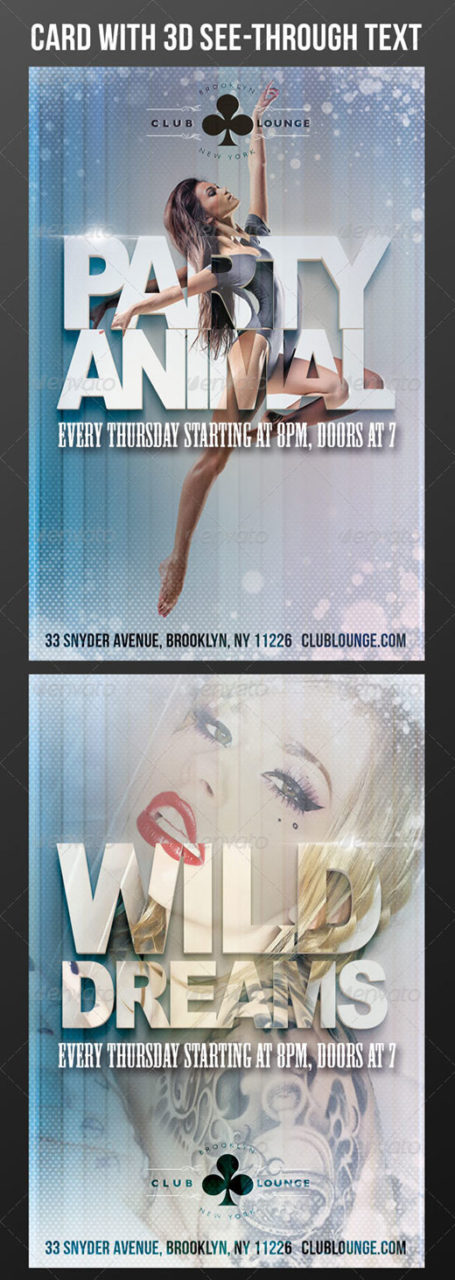
4”x6” card with 3D text holder for image – easy to insert photo (locate red marked layer called “Image Holder”, right click on it and choose “edit contents, and paste your image. 3D text is marked in orange – change it by right clicking on it and choosing “edit contents”. then just re-type it and save. Resize and position as needed. Don’t edit layers called “don’t edit”.
Fonts used:
-Bebas Neue (http://www.dafont.com/bebas-neue.font)
-Arial Black -Mesquite Std (http://www.myfonts.com/fonts/adobe/mesquite/regular/
-Gill Sans (http://www.fonts.com/font/monotype/gill-sans)
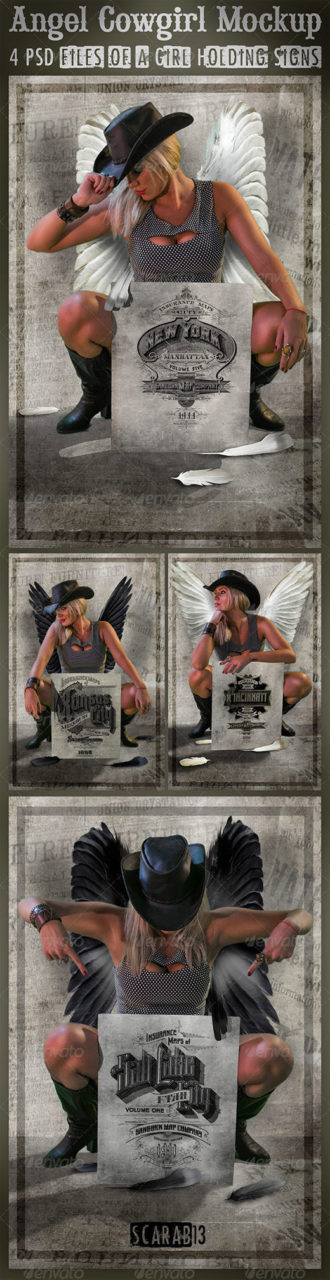
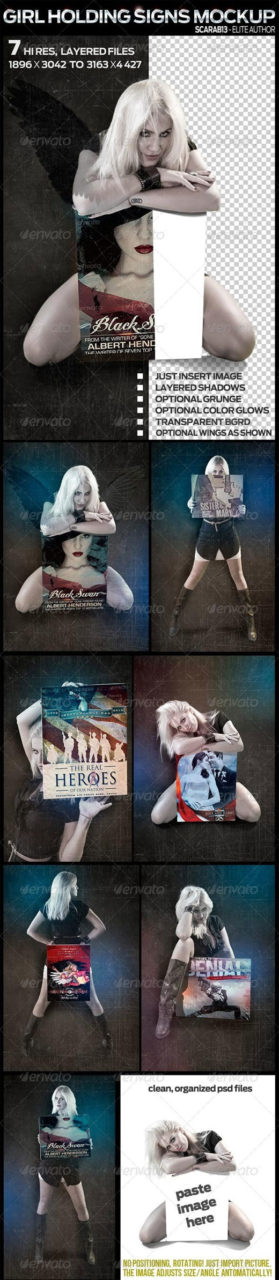
7 Layered PSD mock-ups of a girl holding the “blank” sign. Each one is masked to perfectly fit your images (just right click on the Layer Holder layer, choose Edit Contents and paste your image). All files come with the optional background, layered shadows and grunge effects (one of them includes dark wings as shown in preview!). Also, you can enable or disable the “adjustment” layer with color splashes. They are all also transparent if you want to use your own backgrounds. When you open the files, the background, adjustments and grunge overlay (scratches) are disabled by default. Activate an eye next to those layers to enable them (for the same look as in the preview).
New item is released, exclusively on Scarab13 – 8 Page Magazine Mockup with real 3D rendered template. Just import your images/articles. New Bestseller!